Production Templates allow for the preconfiguration of a complete workflow (stages, participants, alerts, exports) and automatically apply it to new productions. Accessible only to administrators, this feature standardizes processes and saves time.
What is a Production Template?
A Production Template is a pre-configured setting that automatically defines:
The number of post-production stages
Which alerts to activate
Participants (guests, retouchers, managers)
Advanced settings
Export metadata
And much more...
You can create several templates adapted to your different types of productions (e-commerce, wholesale, etc.).
Accessing Production Templates
Only administrators can create and manage templates.
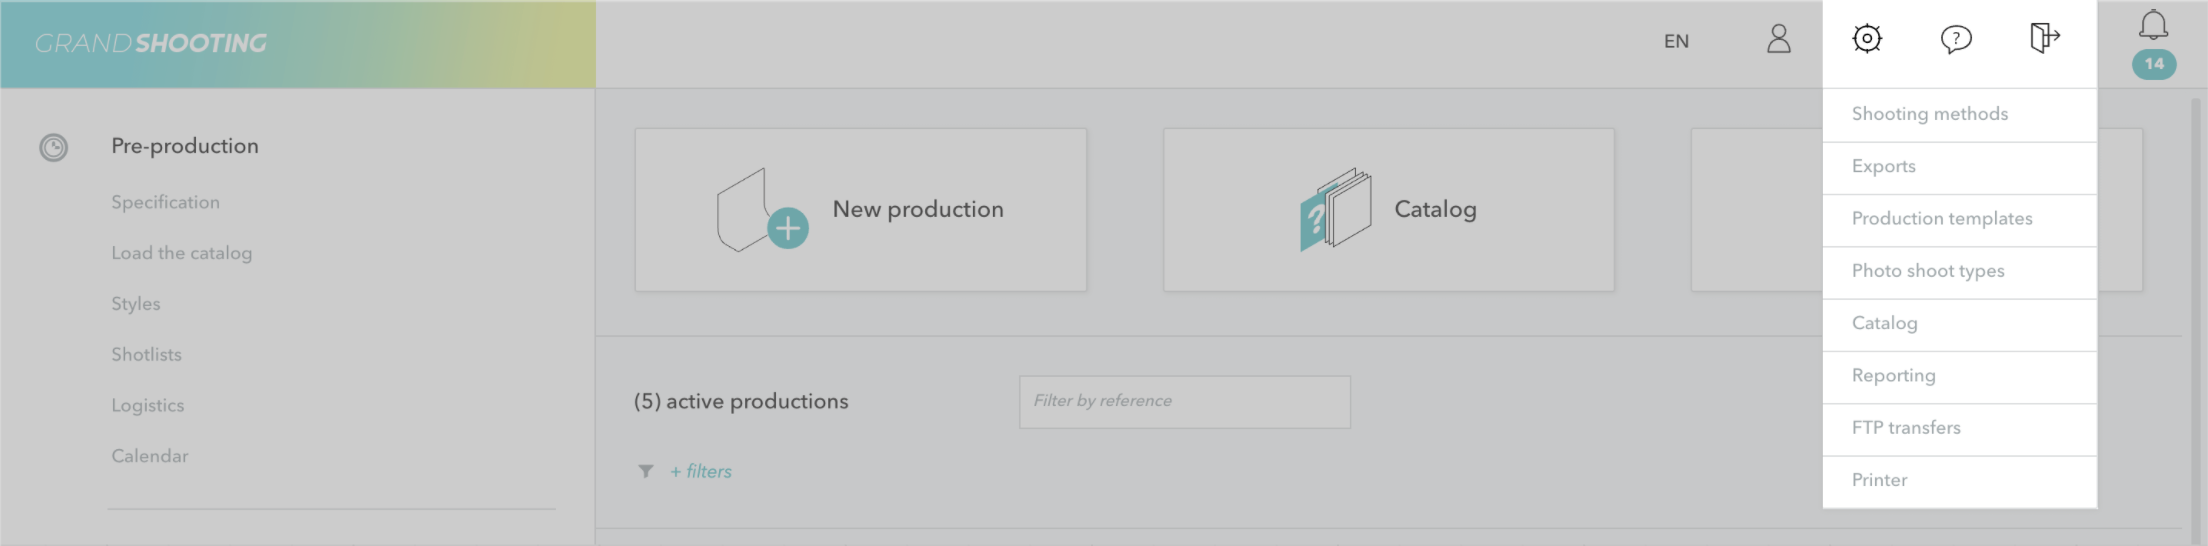
To access the templates, go to General Settings of the application and click on Production Templates.
You will access the list of your existing templates and have the possibility to create new ones.
Available Settings
General Information
Template name: choose a name that speaks to the whole team
E-commerce session: activate this option if the files are not linked to a catalog (for example, an editorial shoot)
Temporary storage: media and thumbnails are stored in cache for a short period
Producer: select who will have default production rights. This feature is useful if you have a producer by delegation. They will automatically see the production created.
Alerts on Production
You activate the desired alerts.
Absence of ICC profile: Detects files without color profile.
References outside catalog: Signals references not present in your catalog.
Views outside shotlist: Identifies shots not planned in the shotlist.
References not present in the product shoot list: Alerts on references not planned in the production's shoot references.
Missing views for references to shoot: Checks completeness according to the specifications.
Strict file name control: Verifies naming conformity according to your rules.
Unexpected views: Signals files that are not planned in the specifications.
The format defined in the specifications is not respected: The technical specifics indicated in the specifications are not respected (weight, dimensions, ICC profile, etc...).
Renaming error, the catalog is incomplete: Exports are set to rename according to catalog values. These values are not filled in.
Value missing from the export dictionary, no match found: Exports are configured to apply a match. The value indicated in the file name does not exist in the export.
No look information: No look is entered in the Live.
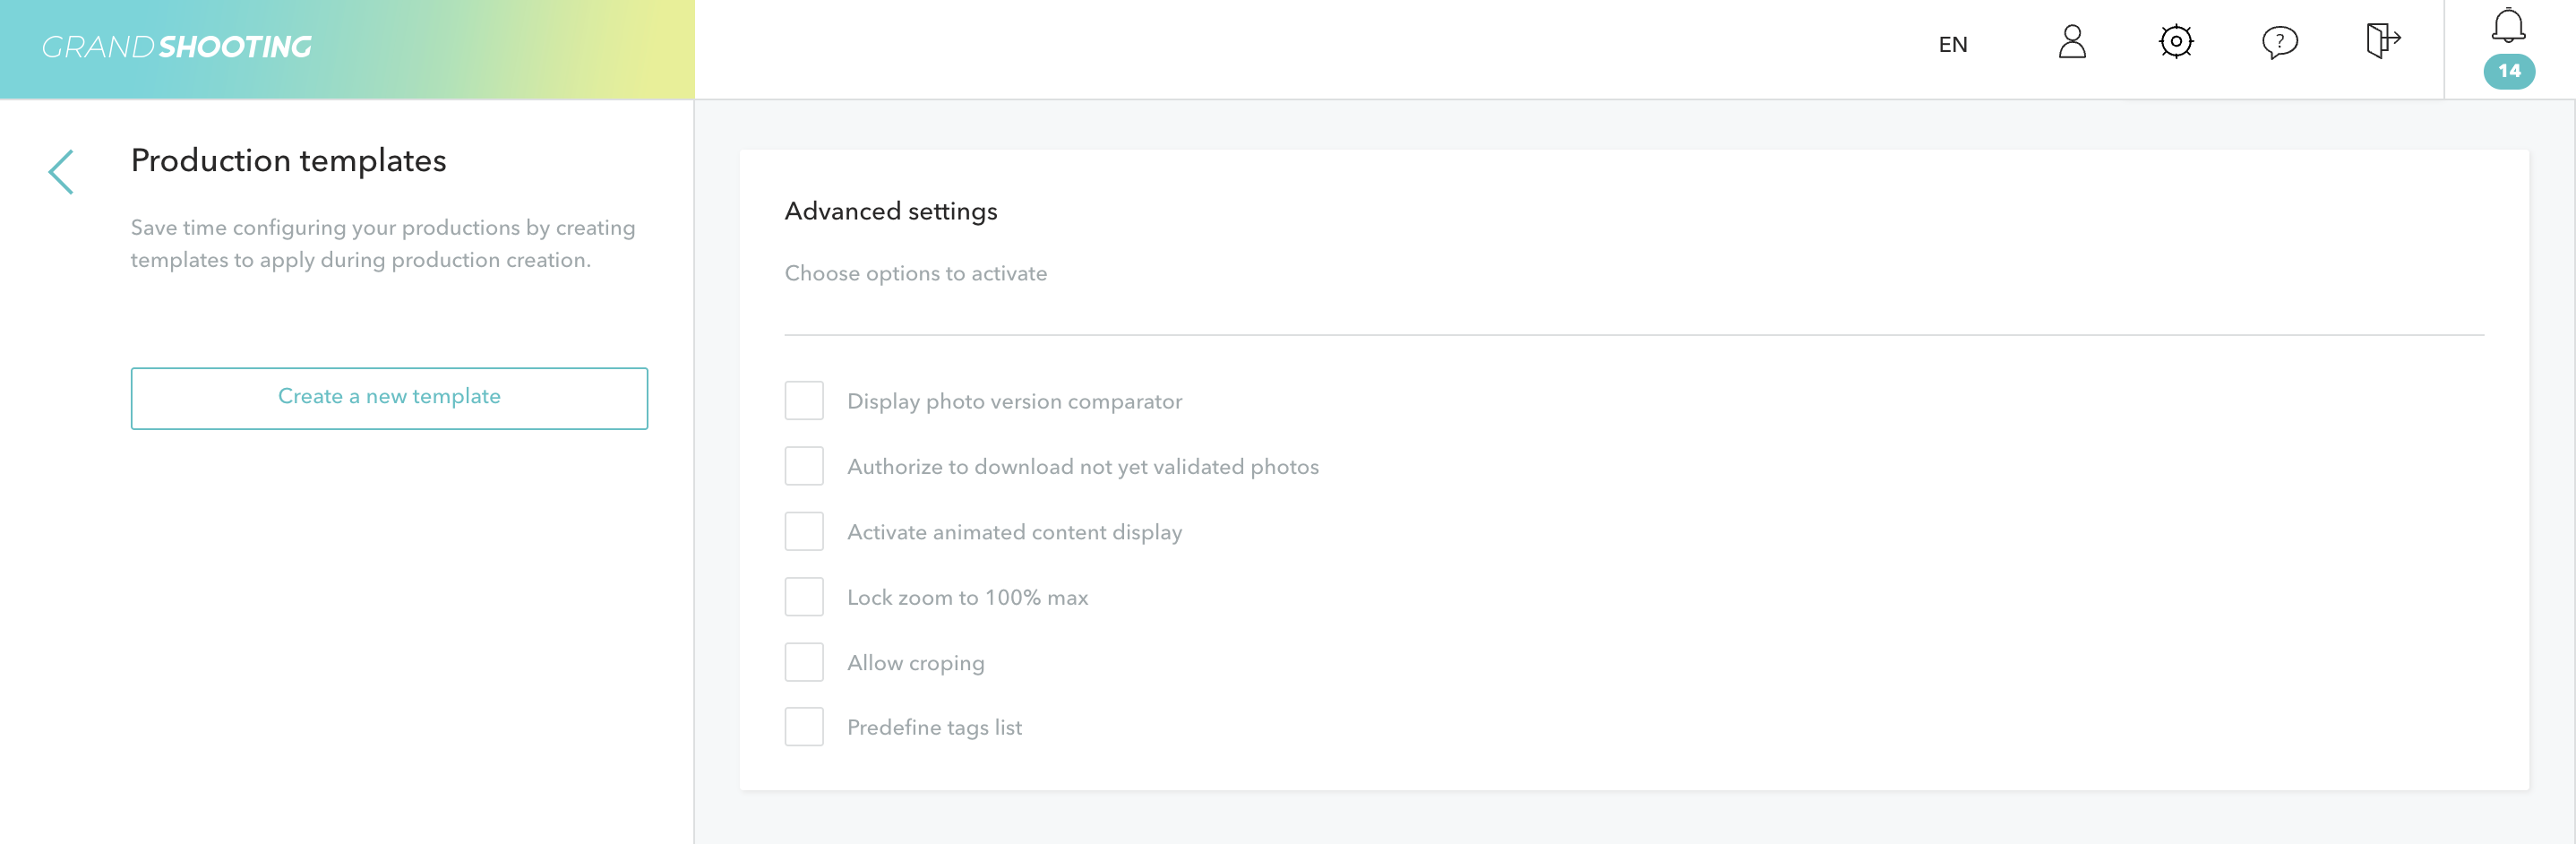
Advanced Settings
Show different versions of a photo in zoom: Allows users of the production to see different versions of a file.
Allow downloading of unapproved photos: Users can download files regardless of their status. For example, files from the Live can be downloaded as well as files from the statuses To be approved, Rejected, etc... of the approval.
Activate animated content display mode: Activates a dedicated display mode for files like 360°.
Lock zoom at 100%: By default, file zoom goes up to 200%. This setting locks it at 100%.
Allow cropping: Activates an additional feature in the zoom that allows cropping a photo. This feature can be an indication for a retoucher, clearly define a cropping area for exports. You choose the minimum frame size to apply.
Predefine the list of tags: Tags are useful for grouping files via the search filter. It is possible to add a lexicon of tags for better management.
Stages and Access Rights
You choose the specifics of each stage.
If it's always the same participants in your productions, access rights can be defined in the templates. Upon creating a new production, they will automatically have access to the concerned stage and will be notified by email.
Production Managers: Add the emails of the managers who will supervise the production.
Capture directories: You configure the nomenclature of the capture folders
Live:
Capture Manager: Define the message and contact for the capture phase.
Guests: Configure the participants who will be able to see the Live directly. They have access to all functionalities.
Phase 1 and Phase 2:
Do not activate retouching: The phase remains inactive
Activate retouching: The phase is operational
Retouchers: Add the emails of the retouchers for each phase. Option "Read Only" for retouchers in consultation only
Approval:
Automatically approve photos that have not raised errors during exports: The Approved status is applied automatically except in case of alerts.
Guests: Configure the participants who will be able to see the approval. They have access to all functionalities.
Managing rejections: you configure rejection reasons that automatically appear as soon as a user clicks on the Reject button. Choosing a reason becomes mandatory.
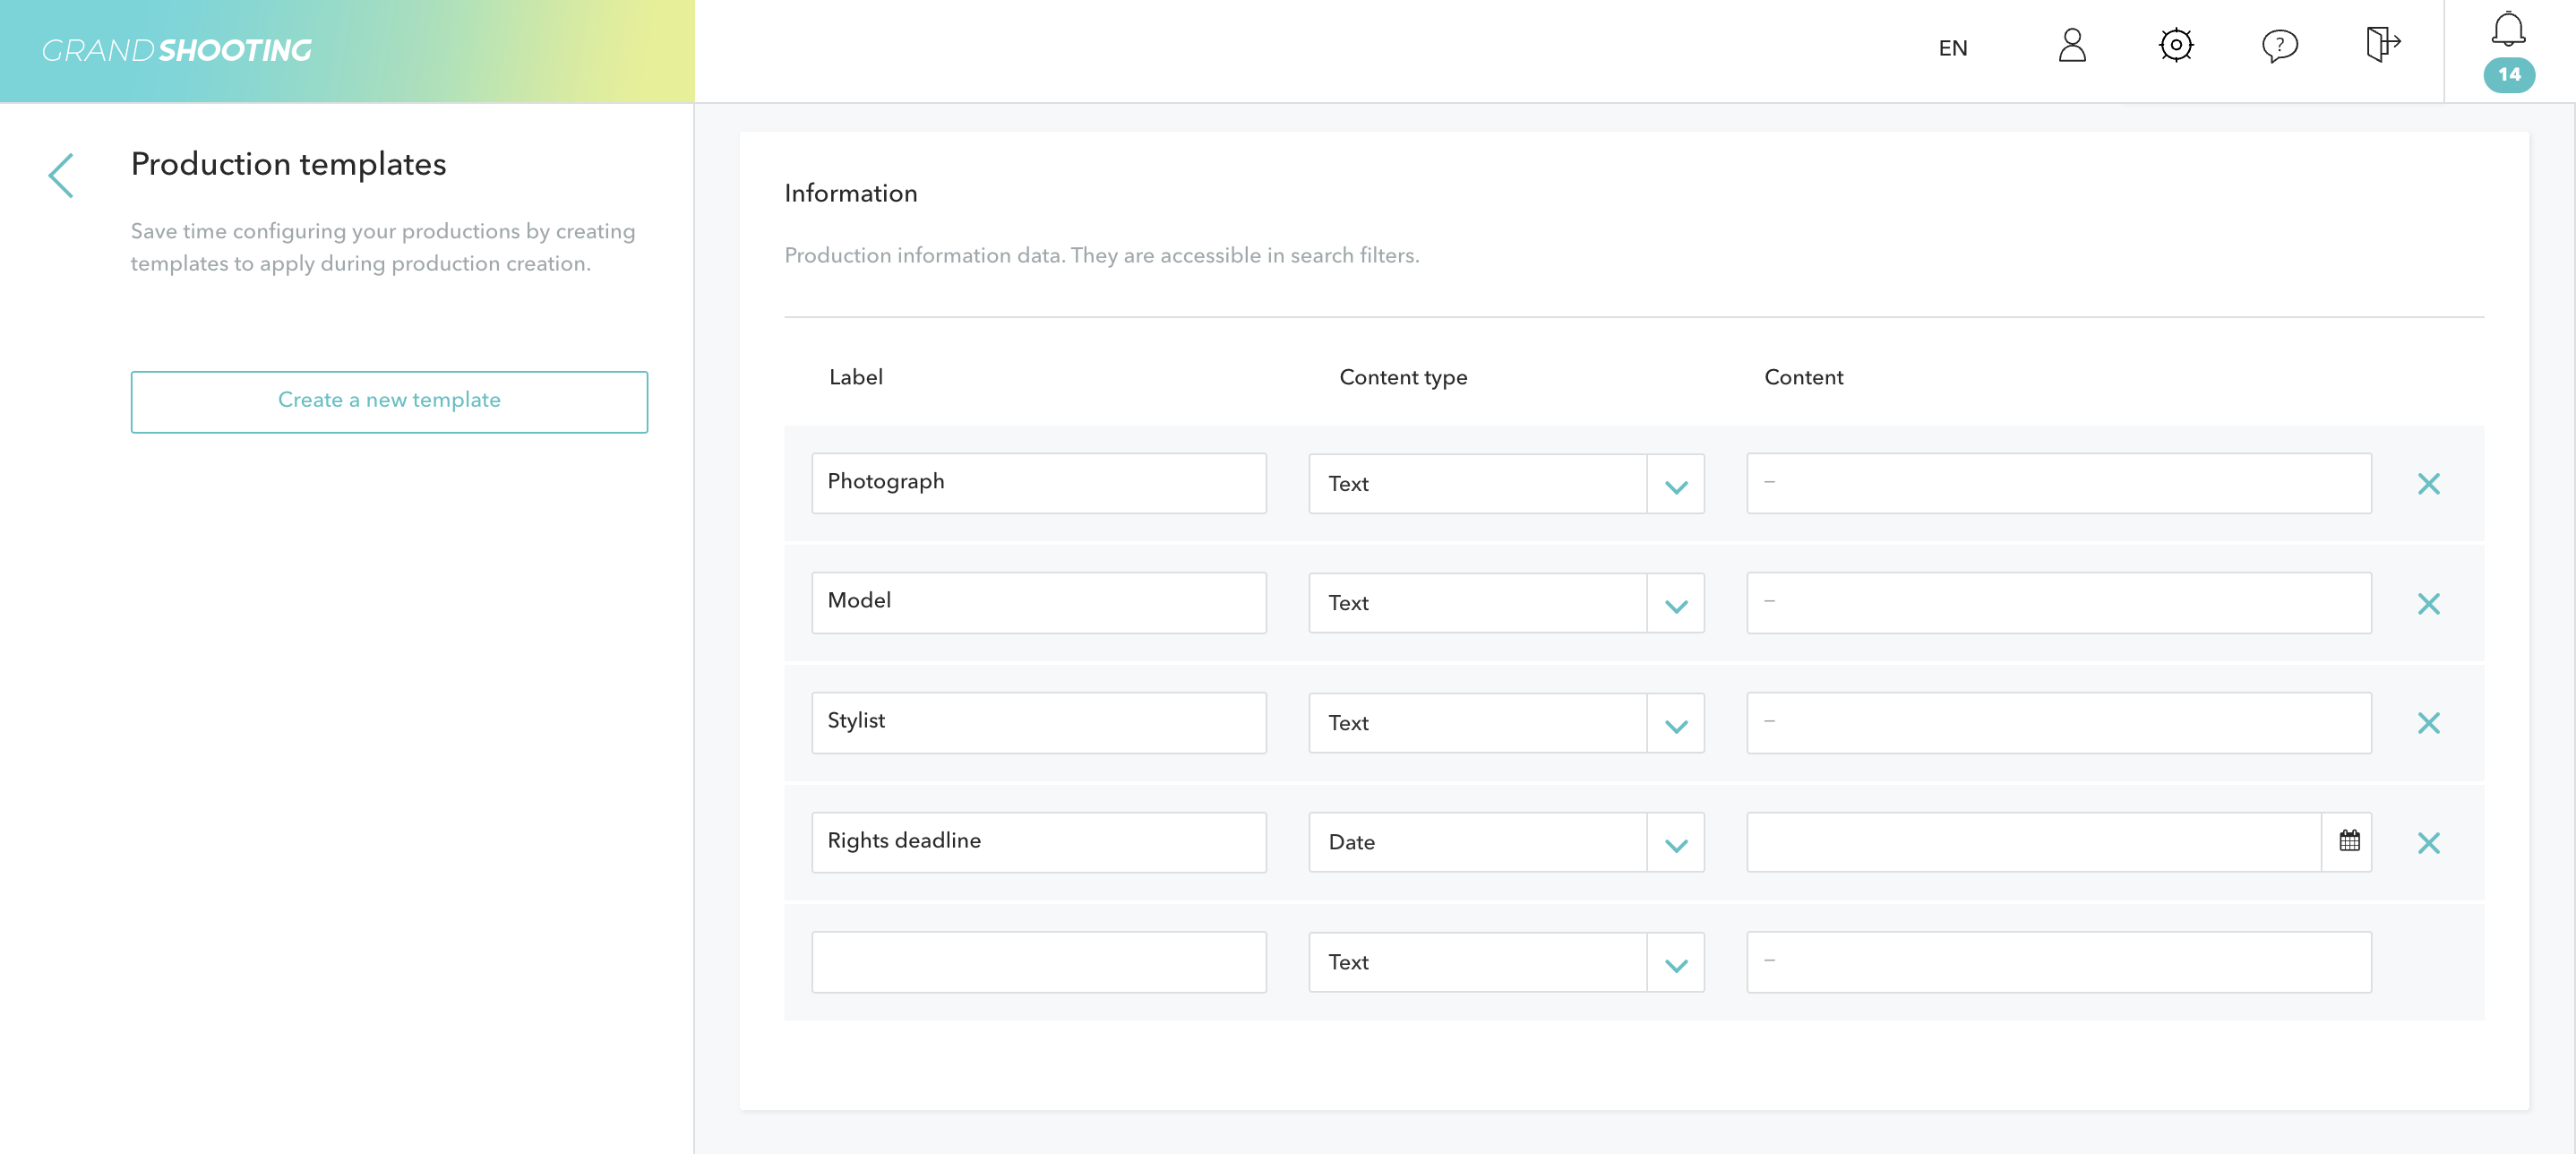
Information
You customize the important fields to fill in your productions: model, photographer, etc... You can add or delete them. These fields feed the search in the application.
Label: name of the field (e.g., "Photographer", "Model", "Stylist")
Content type: Text, Date, etc.
Content: default value if necessary
Choosing a Location
In some organizations, the location of the shoot is important. You can enter your default locations. You just need to select the location when configuring the production.
Metadata of Exported Files
Configure the IPTC metadata. They will be automatically included in all exported files.
Author
Creation Date
Title
Summary
Keywords
Temporal/Spatial Coverage
Copyright
Usage
Exports
You can choose to automatically export files as soon as they are loaded in the last post-production stage. You configure the right exports to apply when this template is chosen.
Applying an Existing Template
Click on New Production from the homepage.
In the production creation form, use the dropdown menu Template and choose the desired template. All settings are configured automatically.
Managing Your Templates
Modify a template:
Select the template from the list
Modify the desired settings
Click on Save
Delete a template:
Select the template from the list
Click on Delete
Confirm the deletion
[[gsGoodToKnow title="Good to Know"]]
Templates belong to the account and are accessible to all users of that account. Only administrators can create and modify them.