Export settings allow for the activation of different processes. Let's set up an export that resizes media and limits their file size.
Prerequisite: Export settings are available for account administrators.
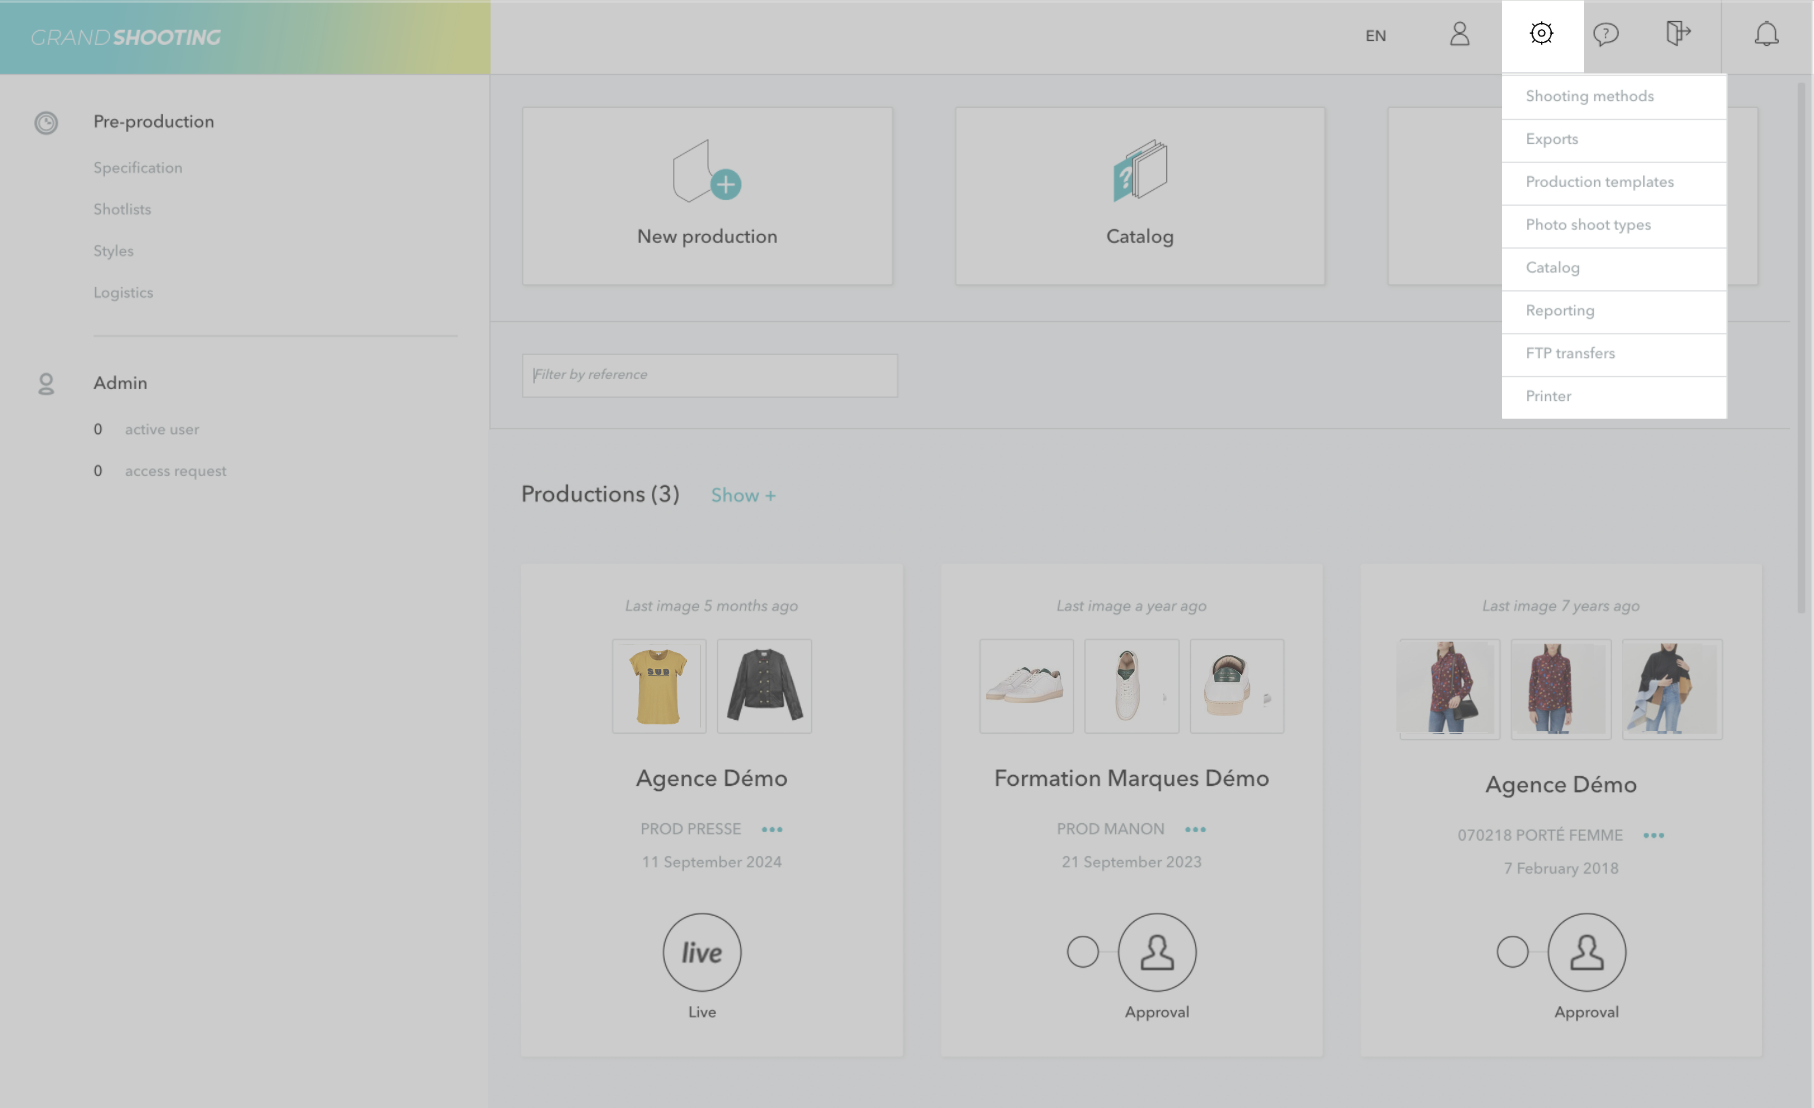
Export settings are available in the general settings of the application > Exports.
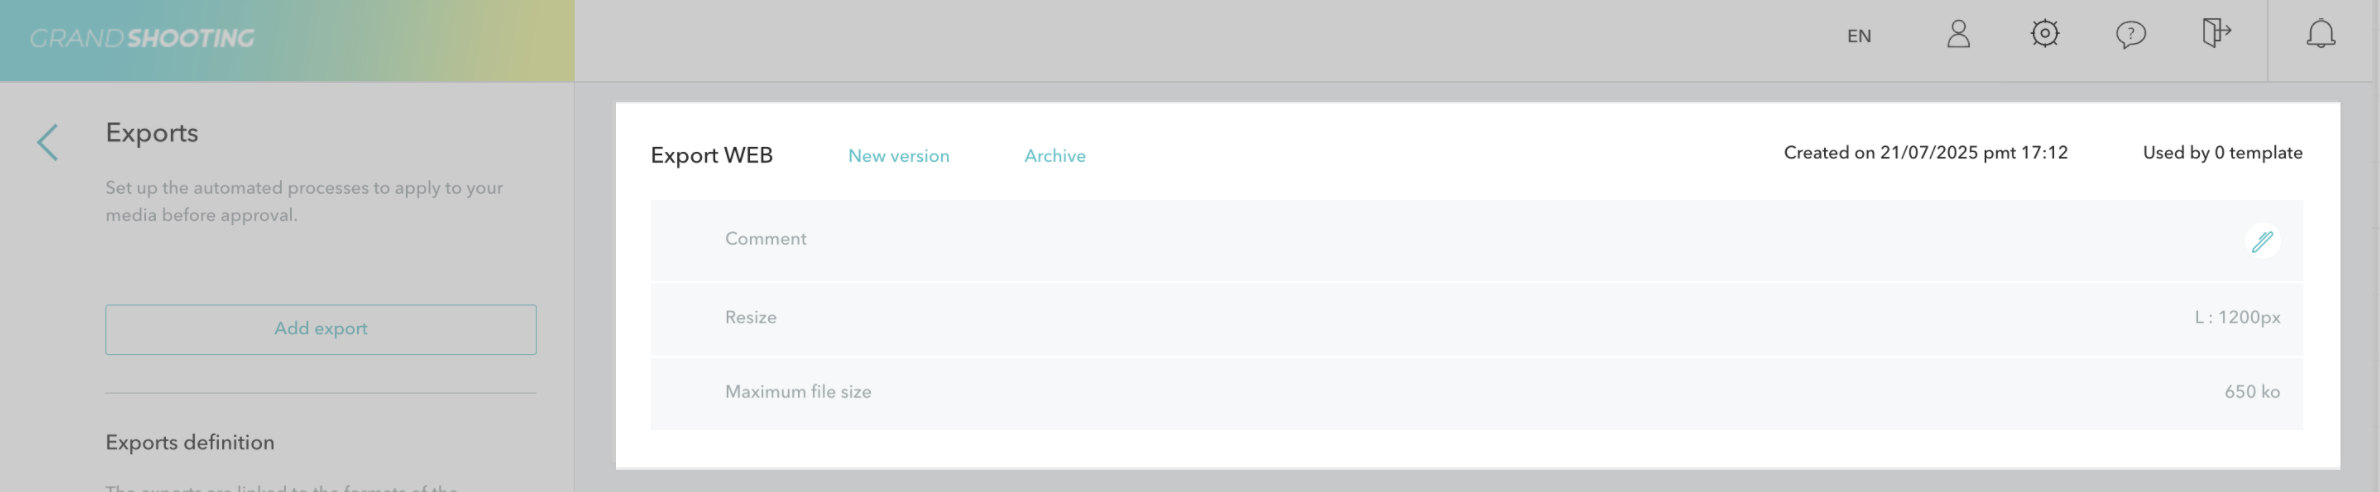
Let's assume the media need to be delivered in a 1200x1200 pixel format and they should not exceed 650 KB for the needs of the e-commerce site. The media delivered at the retouching stage are homothetic to 1200x1200 but are delivered in high definition.
We will set up an export that:
Once on the export settings page, click on Add an export in the left column.
[[gsGoodToKnow title="Good to Know"]]
If you have the Studio subscription, before clicking on the Add an export button, make sure you have selected the correct catalog from the dropdown list.
[[/gsGoodToKnow]]
Then set up the export with the following criteria:

Leave all other criteria as they are and then click on the "Save" button.
You should then obtain an export like this one:
Once your export is completed, you can use it on one or more productions.
[[gsGoodToKnow title="Good to Know"]]
Setting up productions is accessible to the producer of the session.
[[/gsGoodToKnow]]
From the homepage, access the settings of a production (from the menu represented by 3 small dots) and then to the section Alerts and workflow.
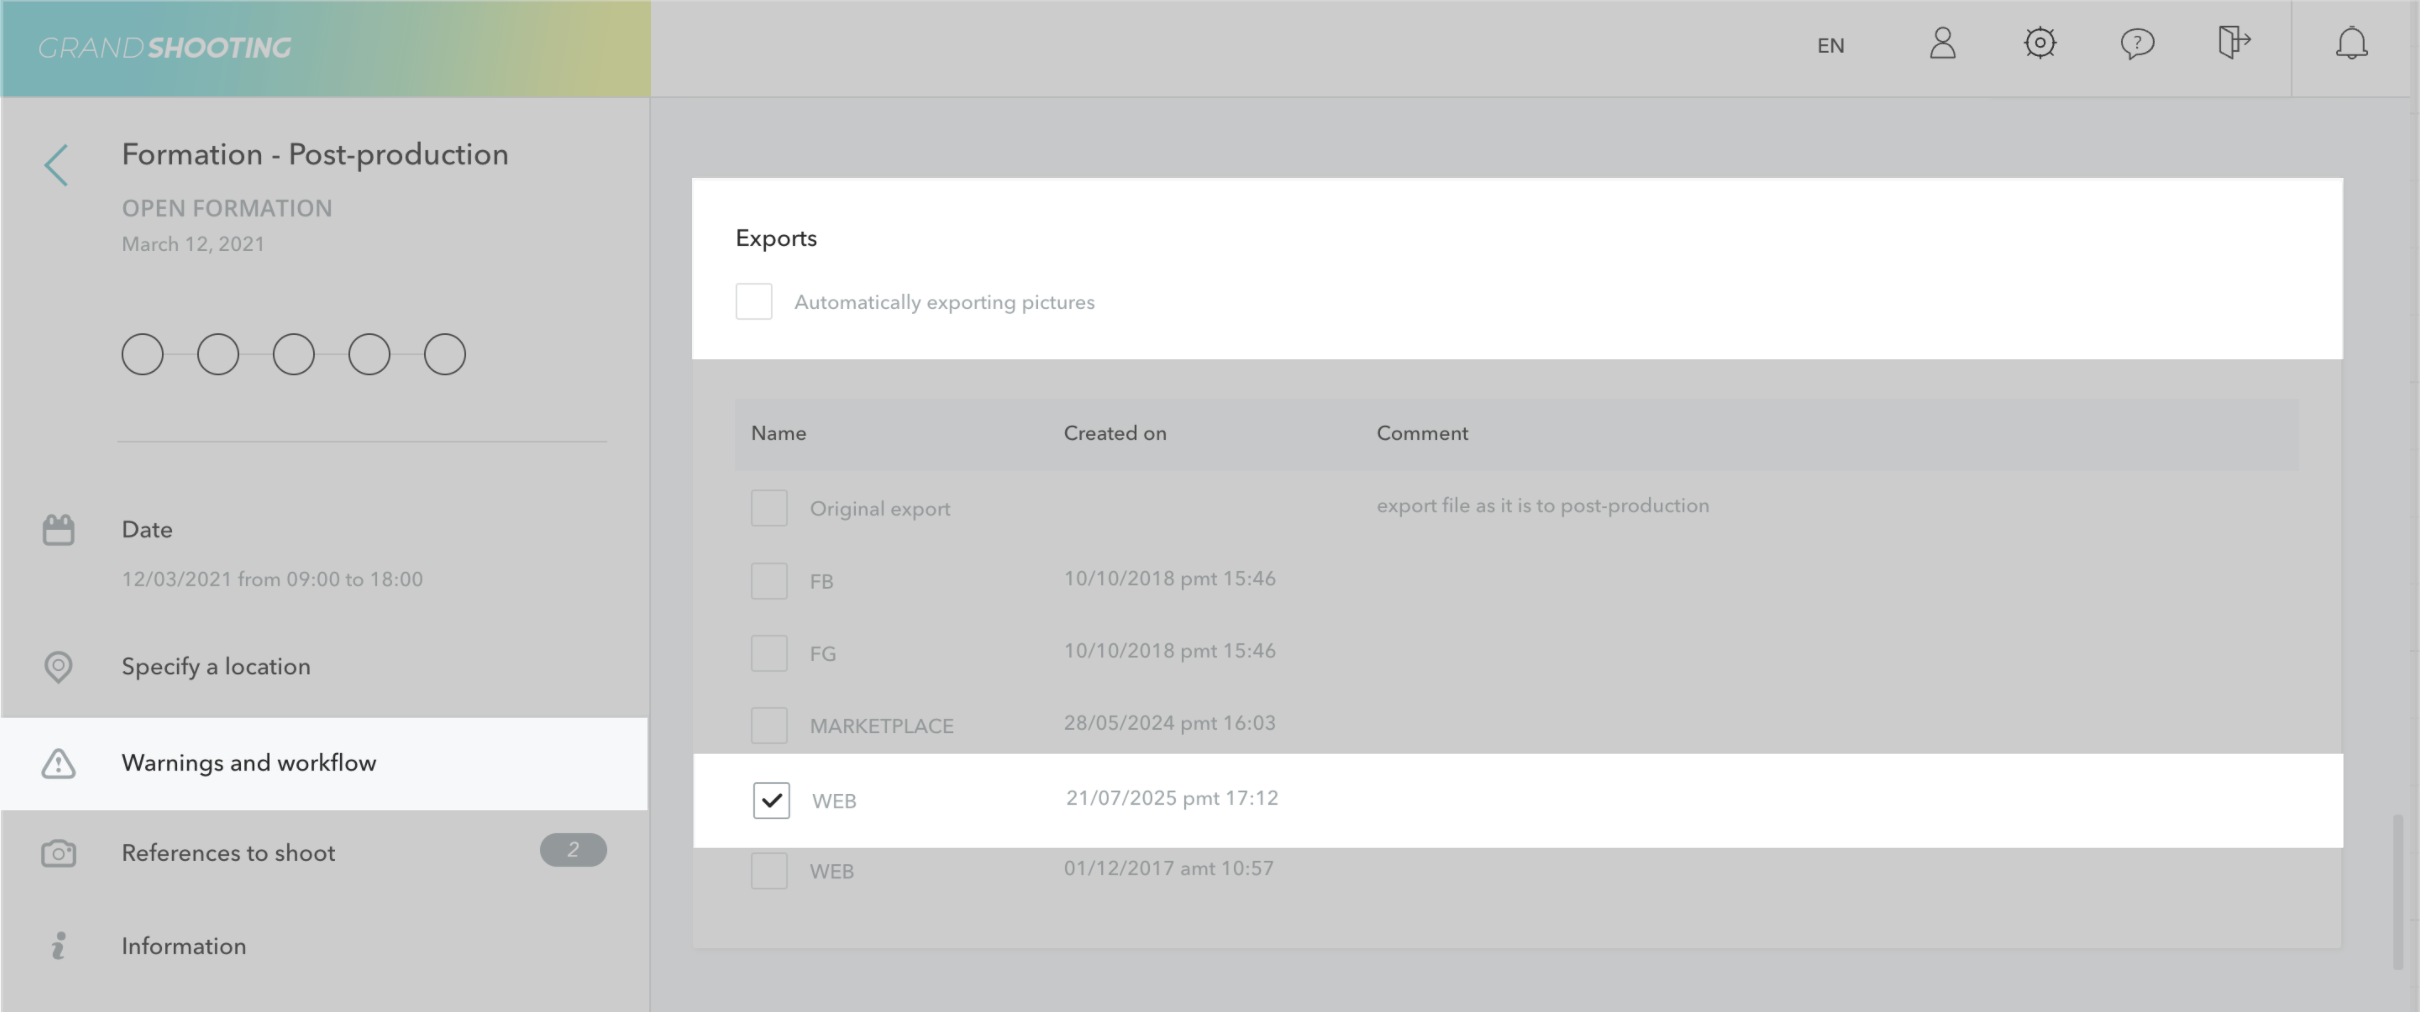
The creation date helps to better identify the correct export as well as any comments if you added one at the creation of the export.
Check the desired export: at the next trigger of exports the media will be processed correctly.
The Automatically Export feature allows for the automatic triggering of exports without needing to click on the Export button at the export stage. You choose whether to activate it or not according to your processes.
[[gsGoodToKnow title="Good to Know"]]
If the export is systematically applied to your productions, you can save it in a template from the general settings of the application > Production Template.
[[/gsGoodToKnow]]